Fool's Idol Archstone Walkthrough - Demon's Souls Guide - IGN
Por um escritor misterioso
Last updated 17 junho 2024

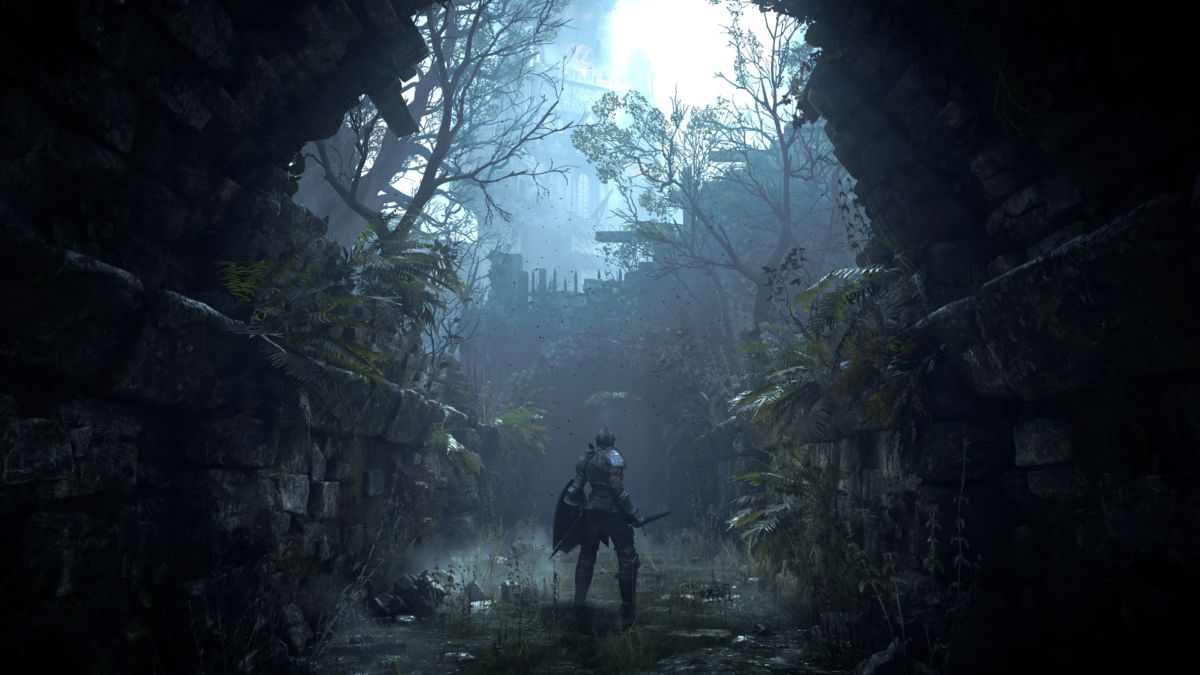
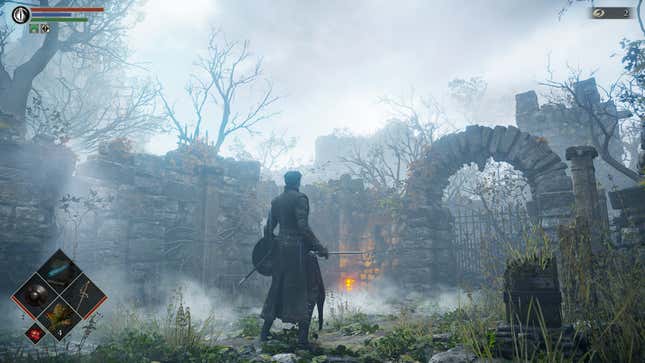
You'll find that the second portion of the Tower of Latria can be much more dangerous than the first. As you progress, you'll need to deal with a

Tower of Latria Walkthrough - Demon's Souls Guide - IGN

Flamelurker Archstone Walkthrough - Demon's Souls Guide - IGN

Fool's Idol Archstone Walkthrough - Demon's Souls Guide - IGN

Tower of Latria Walkthrough - Demon's Souls Guide - IGN

Fool's Idol Archstone Walkthrough - Demon's Souls Guide - IGN

Fool's Idol Archstone Walkthrough - Demon's Souls Guide - IGN

Beneath The Nexus (End Game) Walkthrough - Demon's Souls Guide - IGN

Boletarian Palace Walkthrough - Demon's Souls Guide - IGN

Fool's Idol Archstone Walkthrough - Demon's Souls Guide - IGN

Fool's Idol Archstone Walkthrough - Demon's Souls Guide - IGN
Recomendado para você
-
 Is Demon's Souls Coming to PC? - Cultured Vultures17 junho 2024
 -
 Sony retracts Demon's Souls remake trailer, says PC mention was 'human error17 junho 2024
 -
 Dark Souls (video game) - Wikipedia17 junho 2024
 -
 Demon's Souls (PS5) Review - Demon's Souls Review – Hello Dark17 junho 2024
 -
 What is the origin of the stat symbols from Demon's Souls? : r17 junho 2024
 -
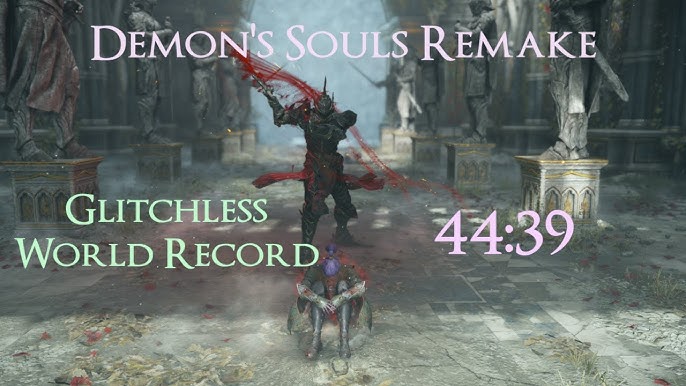 Demon's Souls Speedrun Melee, Glitchless, Any%, No S&Q in 1:05:0917 junho 2024
 -
 Demon's Souls Looks Fantastic With Boletaria Reborn Lighting Overhaul17 junho 2024
 -
 We Tested All The PS5 Demon's Souls Graphics Filters17 junho 2024
 -
 Large Axes - Demon's Souls Guide - IGN17 junho 2024
 -
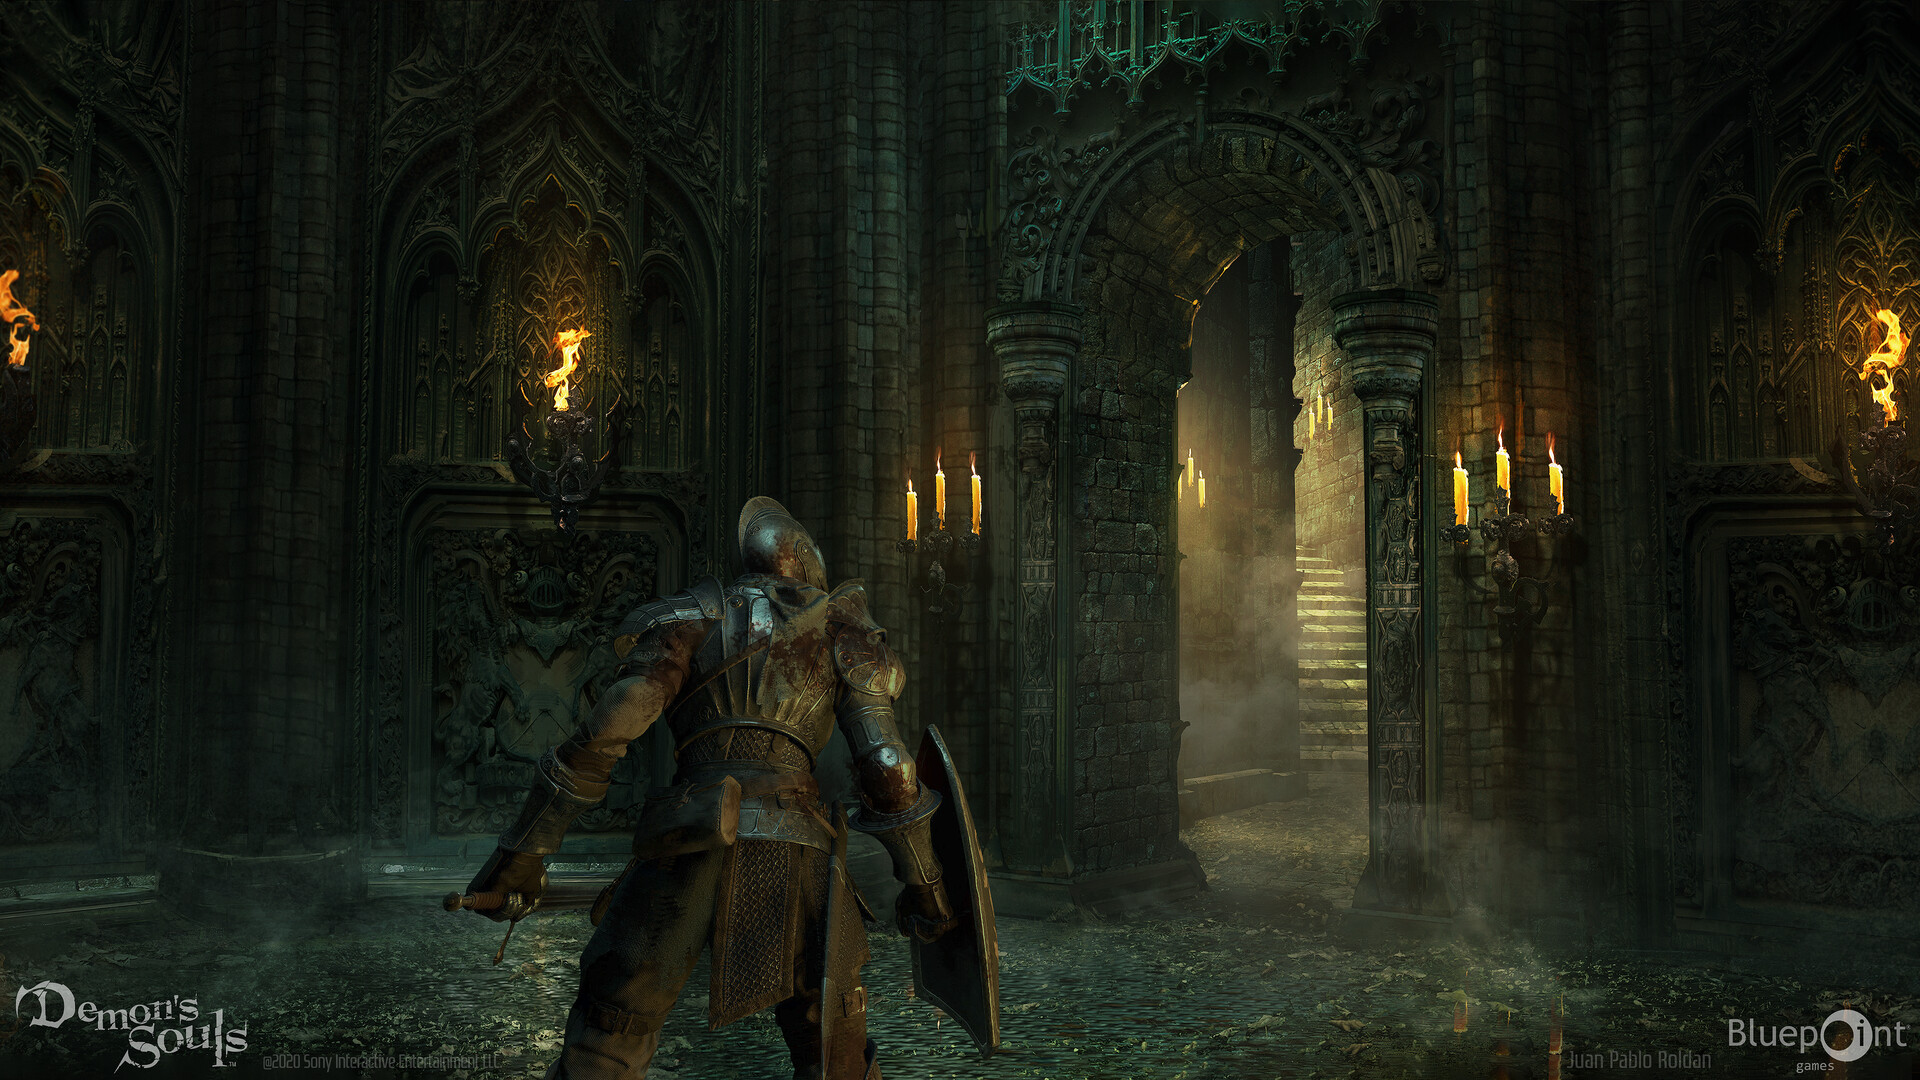 Demon's Souls (2020)17 junho 2024
você pode gostar
-
Teignmouth Library - Empathy Definition: understanding Synonyms: affinity, appreciation, being on same wavelength, being there for someone, community of interests, compassion, insight, pity, rapport, recognition, responsiveness, soul, sympathy, warmth17 junho 2024
-
Anime Guild17 junho 2024
-
Chess PGN Viewer17 junho 2024
-
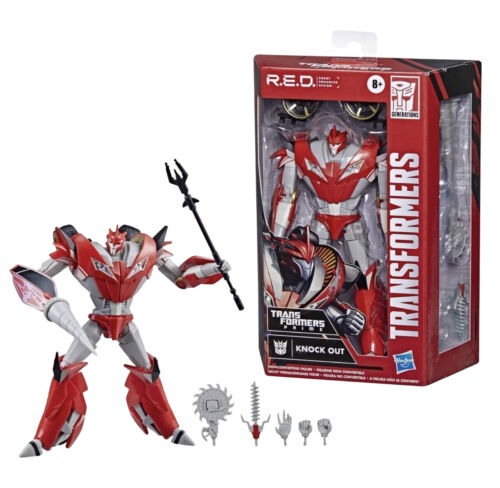 Hasbro Transformers R.E.D. Prime Knock Out Walmart 6 Action17 junho 2024
 -
 2023 fantasy hangout how to redeem code|TikTok Search17 junho 2024
 -
lowfade de Respeito pra vocês, comenta o que vocês acharam e se17 junho 2024
-
 Lies of P All TRINITY KEY & TRINITY DOOR Locations (End of Riddles Trophy / Achievement Guide)17 junho 2024
 -
 ≫ MTG Flicker 135 combos explained • MTG DECKS17 junho 2024
 -
Spot pizzaria Florianópolis SC17 junho 2024
-
 DRAGON BALL Xenoverse 2 - Hero of Justice Pack Set Steam Key for PC - Buy now17 junho 2024